If you’re one of them facing a locked-out WordPress issue, hackers will hack and lock you out of your WordPress website by deleting WordPress administrator privileges.
In this post, we’ll walk you through the steps of Adding an Admin User to the WordPress Database With phpMyAdmin
Adding an Admin User to the WordPress Database With phpMyAdmin becomes necessary when a hacker has locked your website, you have lost access to the WordPress admin panel, or you have forgotten credentials.
Adding an Admin User to the WordPress Database With phpMyAdmin
Losing Administrator Privileges
losing administrator privileges means hackers will lock your website and delete your WordPress administrator privileges. In some cases, you are able to log in, but you don’t have your usual administrator privileges, such as themes, plugins, pages, etc.
To fix the losing Admi administrator privileges, Adding an Admin User to the WordPress Database With phpMyAdmin
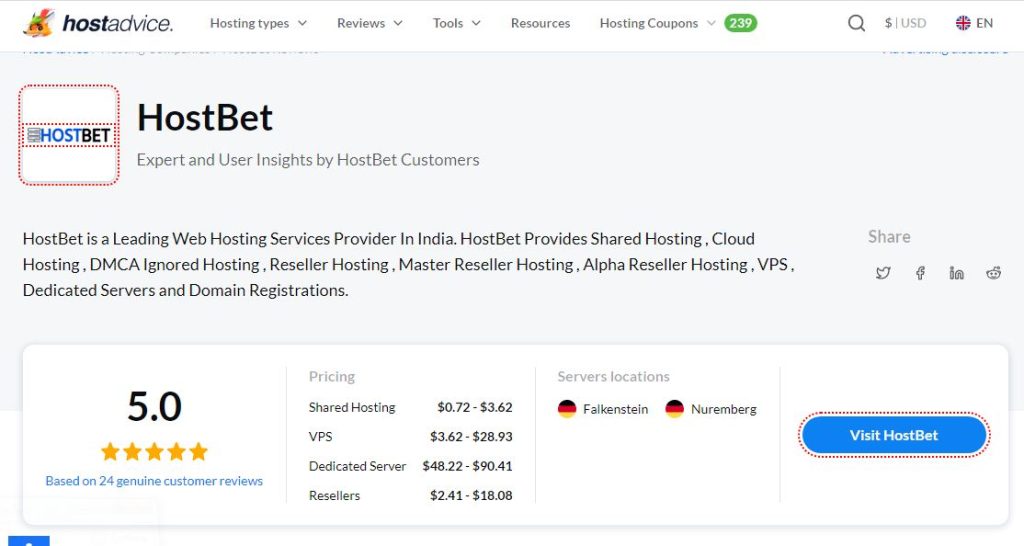
Once again, here we use the HostBet Shared Hosting cPanel account screenshot.
Step 1: Open the cPanel account Dashboard
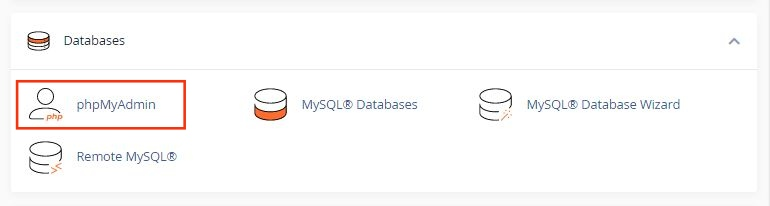
Step 2: Navigate to phpMyAdmin in the Databases section.
Step 3: Click on phpMyAdmin.
Step 4: Once you’re on the phpMyAdmin dashboard, you need to select your WordPress database.
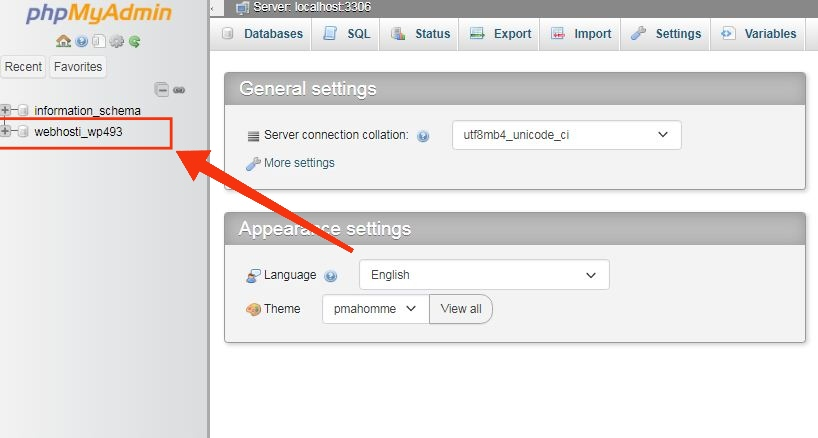
This will open the WordPress database. You will be making changes to the wp_users and wp_usermeta tables.
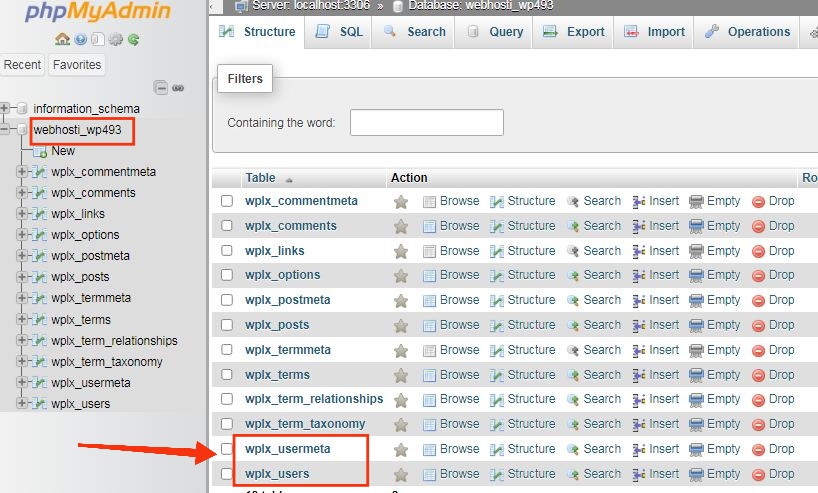
First, add a user to the wp_users table.
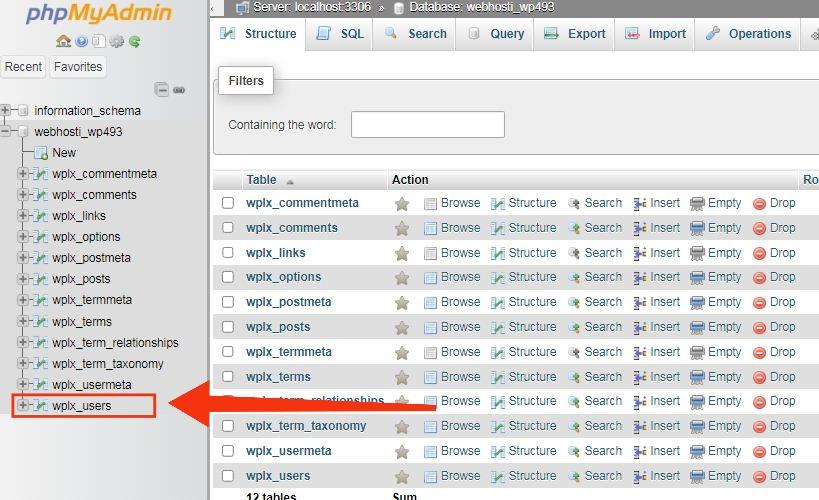
Step 5: First, you need to navigate to the wp_users table and click on it. This will open the users currently listed in the table.
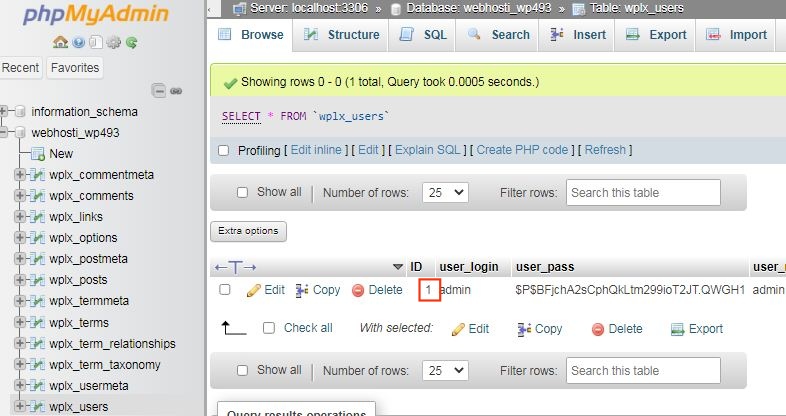
Please note that there is one user ID in our demo website table 1. You need to add a new user using a new unique ID, so we’ll use the 2 numbers.
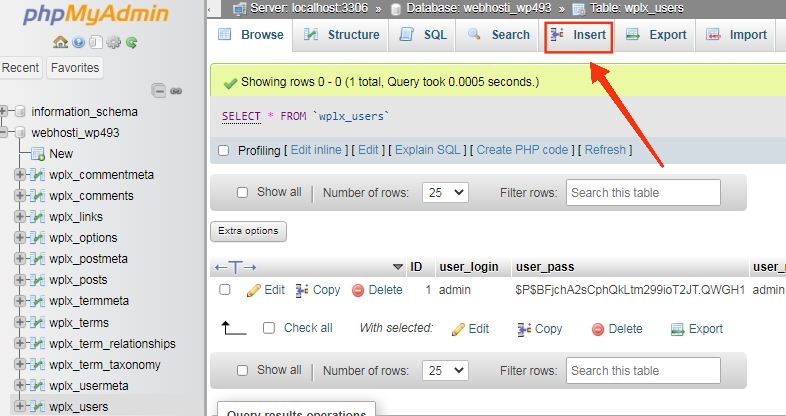
Step 6: To create a new user, you need to click on the “Insert” tab.
Step 7: Add the following information to the fields on the Insert form:
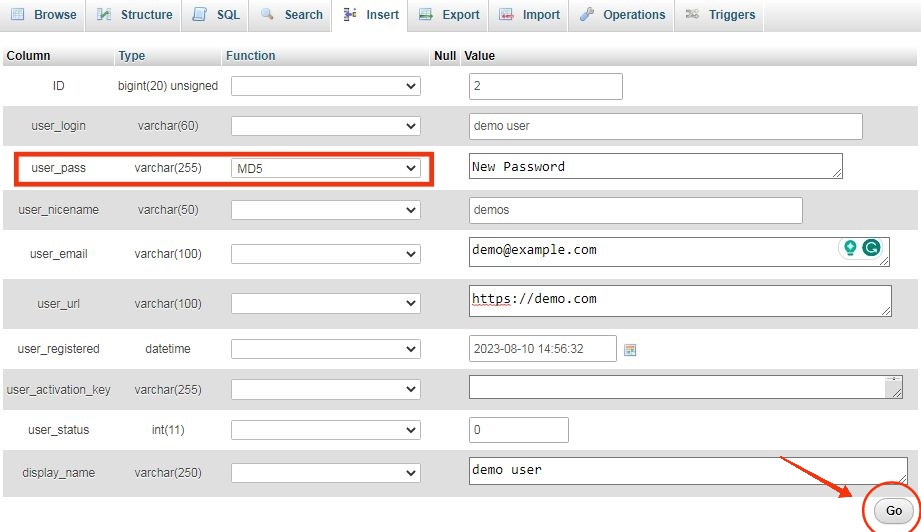
- ID: pick a unique number (in our example, we’ll use 2)
- user_login: the username that will be used for login
- user_pass: add a strong password, and make sure to select MD5 in the function from the drop-down menu (see the screenshot below)
- user_nicename: the user’s full name or nickname ( you can write according to yourself)
- user_email: the user’s email address
- user_url: your website address
- user_registered: select the date and time the user was registered using the calendar
- user_activation_key: leave blank
- user_status: set this to 0
- display_name: the user’s full name or display name
Step 8: Once you have finished, click on the ‘Go’ button to add the new user.
Next adding a user to the wp_usermeta table.
Step 1: To add a new user, you need to navigate to wp_usermeta, click on it, and then click on the “insert” tab (same as the previous steps).
Step 2: Next, you need to add the following information to the Insert form:
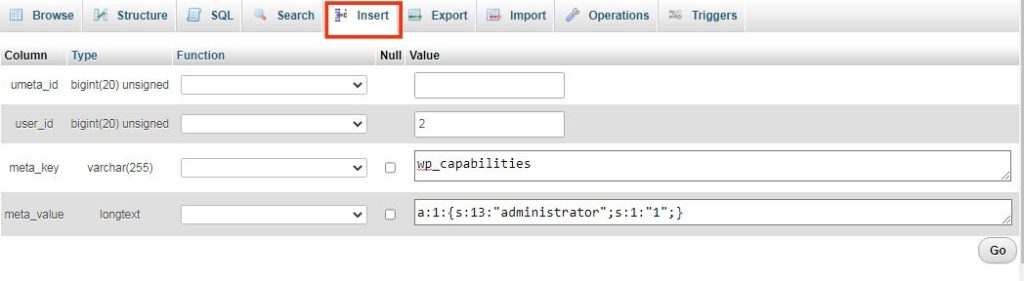
- unmeta_id: leave this blank
- user_id: the user ID you used in the previous step
- meta_key: this should be wp_capabilities
- meta_value: insert this: a:1:{s:13:”administrator”;s:1:”1″;}
Step 3: After that, you need to find fields for the second row.
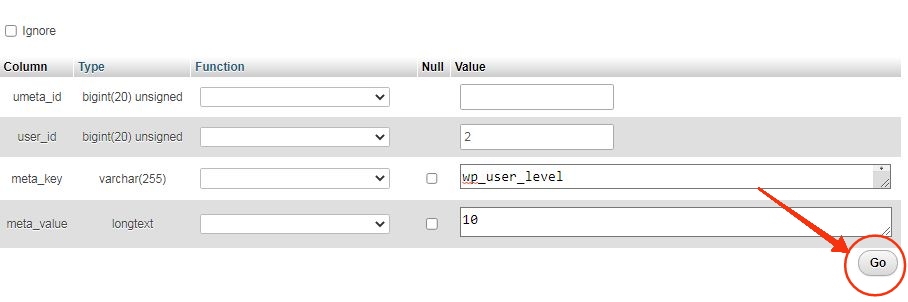
- unmeta_id: leave this blank
- user_id: the user ID you used in the previous steps
- meta_key: you need to enter wp_user_level
- meta_value: 10
Step 4: Once you finished typing the information into the fields, click the ‘Go’ button. that’s it. You Have successfully added new users.
Conclusion
Adding an Admin User to the WordPress Database With phpMyAdmin might seem daunting, but it’s a valuable skill to have in your arsenal. Make sure before any changes, you nedd to create backups, With these steps, you can easily add user in WordPress database
FAQ section on – Adding an Admin User to the WordPress Database With phpMyAdmin
How do I add a user to my phpMyAdmin database?
The process involves the following steps:
1. Open the cPanel account Dashboard.
2. Navigate to phpMyAdmin in the Databases section.
3. Select your WordPress database.
4. Add a new user to the wp_users table by inserting their details, including a unique ID, username, password (using MD5 encryption), email address, and other necessary information.
5. Add user information to the wp_usermeta table, specifying the user ID, meta key (wp_capabilities), and meta value (administrator privileges).
What is phpMyAdmin, and why do I need it?
phpMyAdmin is a web-based interface used to manage MySQL databases. It’s a crucial tool for directly interacting with your WordPress Database to make changes that might not be possible through the WordPress dashboard.
Why have I lost my administrator privileges in WordPress?
There can be various reasons for this issue, such as hacker has locked your website, you have lost access to the WordPress admin panel, or you have forgotten credentials